


Short answer: A Fair Value Gap (FVG) is a three-candle imbalance that often appears after a displacement move. It marks an area to observe when price retraces, accepts or rejects a level. It does not guarantee a fill, continuation or reversal, and it is not a buy/sell signal without context, confirmation, invalidation and a separate risk plan.
What Is a Fair Value Gap?
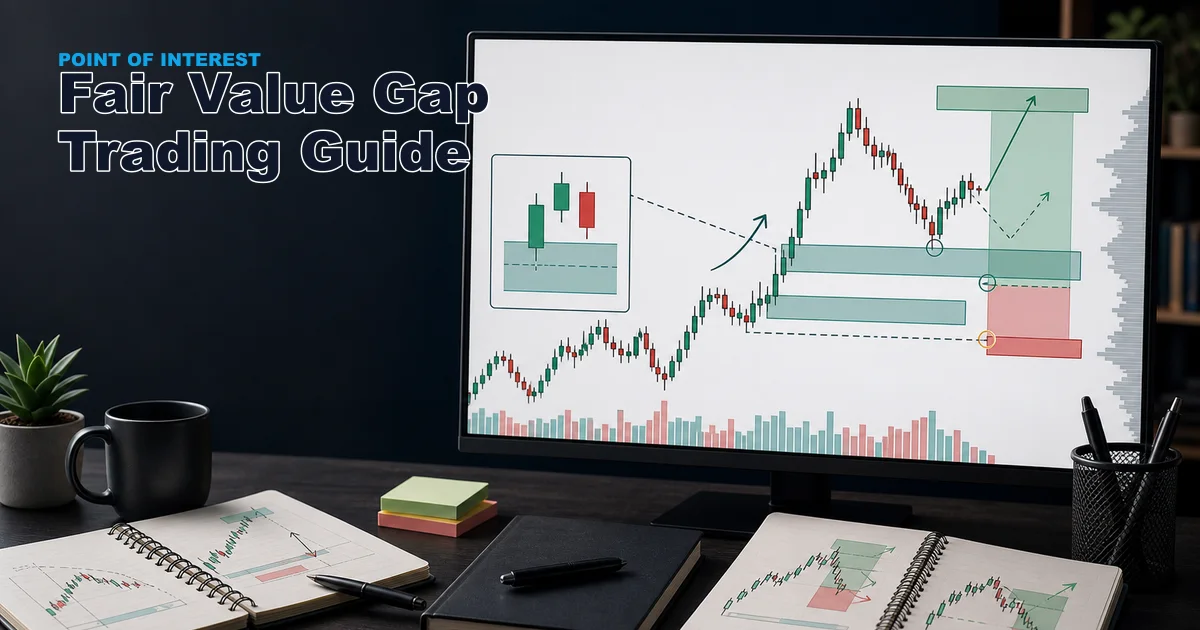
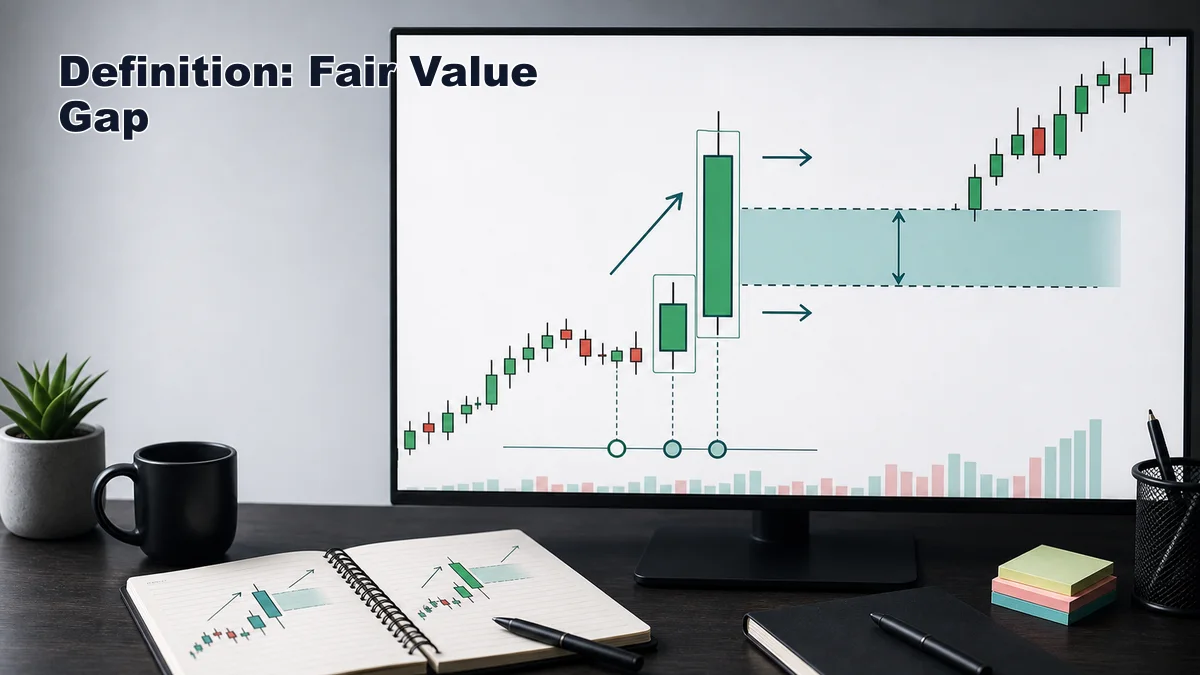
In SMC and ICT discussions, an FVG describes an area where price moved quickly and the neighbouring candles show an imbalance. Analysts mark it to study a possible retracement, continuation or failure. The term “fair value” does not mean the market must revisit the zone, that the zone will hold as support or resistance, or that it represents a known institutional order.
An FVG is not simply every large candle or an ordinary opening gap. Its geometric definition uses three candles, and its interpretation depends on the displacement and market structure around them. This page stays focused on definition, workflow and limits; the broader Smart Money Concepts guide provides the wider taxonomy.
The Three-Candle Definition

For a bullish FVG, the low of candle three is commonly above the high of candle one. The untraded-looking area between those prices is marked as the gap. For a bearish FVG, the high of candle three is below the low of candle one. The middle candle often has a large spread, but the key test is still the first-to-third-candle relationship.
State whether your boundaries use full high/low wicks or candle bodies. Mixing the two definitions changes zone width and invalidation. Do not expand a zone to include every wick just to make a later reaction appear to “respect” it. If the three candles overlap heavily, describe the area as congestion rather than a clean FVG.
| Condition | Careful wording | Overclaim to avoid |
|---|---|---|
| The space between candle one and three remains open | An unmitigated or partially tested FVG is visible. | Price must return to fill it. |
| The middle candle has a wide spread | A displacement candidate needs context. | Every wide candle creates a high-quality FVG. |
| Price trades through the zone | The original imbalance hypothesis is weakening. | A wick through the zone is irrelevant. |
Displacement and the Context Around an FVG

Displacement is a relatively forceful move that leaves a balance area and may break a swing. The FVG inside that move records where price travelled quickly. A post-news candle or a thin-liquidity session can look similar, so the label should remain conditional.
Before marking a zone, ask: where is price on the higher-timeframe structure, which liquidity was tested, did a real break occur or only a wick, and did the move receive follow-through? The site’s ICT market-structure guide and liquidity guide provide the supporting context.
Do not call an FVG an “institutional footprint” simply because it follows a large candle. The chart shows a price pattern, not the identity or motive of every participant.
Bullish and Bearish FVGs

A bullish FVG is often below current price after an upward displacement; a bearish FVG is often above current price after a downward displacement. This is a description of location, not a direction forecast. Record the swing that was affected, the dealing-range context and whether price sits at a premium or discount before assigning meaning.
Width, age and the number of prior tests all change the hypothesis. A fresh area that has never been revisited is not equivalent to a zone that has been crossed several times. Small gaps created repeatedly inside a choppy range may be noise rather than a useful structural area.
When Is an FVG Filled or Mitigated?

Define “filled” before you review outcomes. Some analysts record a wick touch as a test; others distinguish a partial fill, a midpoint fill and a full fill when price travels through the entire gap. None is inherently the correct choice, but the rule must be consistent. A revisit without a reaction is a retest, not proof that the zone held.
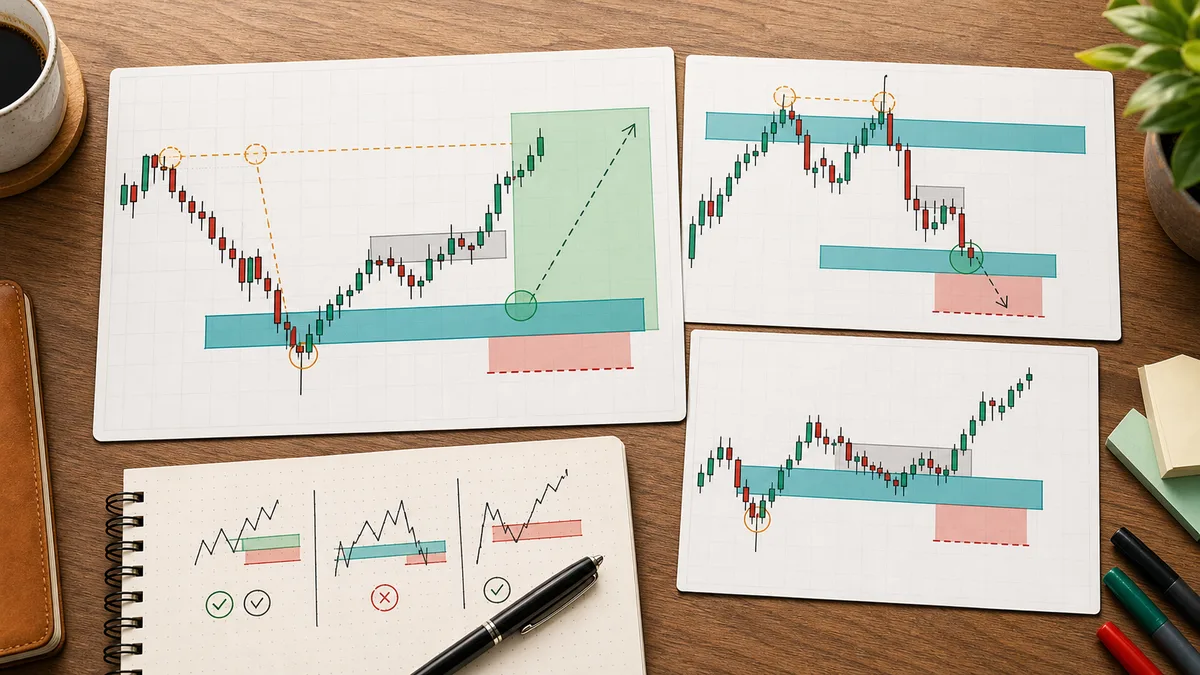
Mitigation describes price returning to process an imbalance. It does not mean the zone must reverse price. If price closes through the entire area and accepts on the other side, the original support/resistance hypothesis is weaker. A single wick is not enough to rename the zone as an IFVG; role reversal needs structure and follow-through.
For a broader explanation of retest behaviour, see the site’s point-of-interest guide.
FVG Invalidation and Acceptance
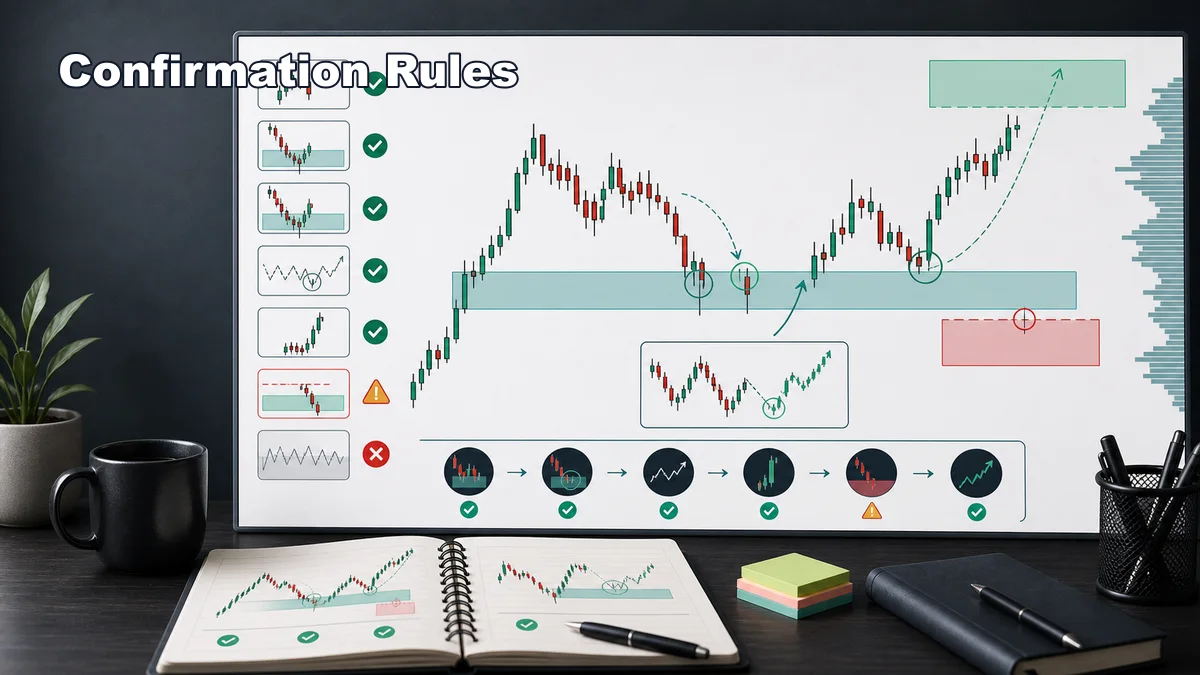
There is no single industry-wide invalidation rule, so publish the one you use. For example, a bullish FVG hypothesis may be invalidated after a decisive close below the complete zone followed by acceptance underneath; a bearish hypothesis may be invalidated after the mirror-image behaviour above it. If only a wick crosses and the close returns inside, log a deep test rather than a full invalidation.
Separate structural invalidation from execution invalidation. The structure may remain plausible while the required stop distance, spread or slippage makes the idea unsuitable for the planned risk. “No trade” is a valid conclusion even when the FVG has not been fully broken.
Do not drag the zone with price, remove failed examples or change timeframe after the fact to preserve a story. Save before-and-after screenshots for honest review.
FVG, Liquidity Void and Order Block
| Concept | Defining observation | Question to test |
|---|---|---|
| Fair Value Gap | Three-candle high/low imbalance. | How much of the gap was tested and what did acceptance do? |
| Liquidity void | A longer, fast-travelled area that does not require the three-candle rule. | Which liquidity condition and feed produced the fast move? |
| Order block | A candle or base interpreted as a point of interest before displacement. | Is there structural evidence, or is it just an arbitrary candle? |
Use the site’s POI guide when the question concerns an order-flow base; use this pillar when the question concerns a three-candle imbalance. Do not merge future IFVG/BPR or liquidity-void comparison pages into this foundational intent.
A Top-Down FVG Workflow
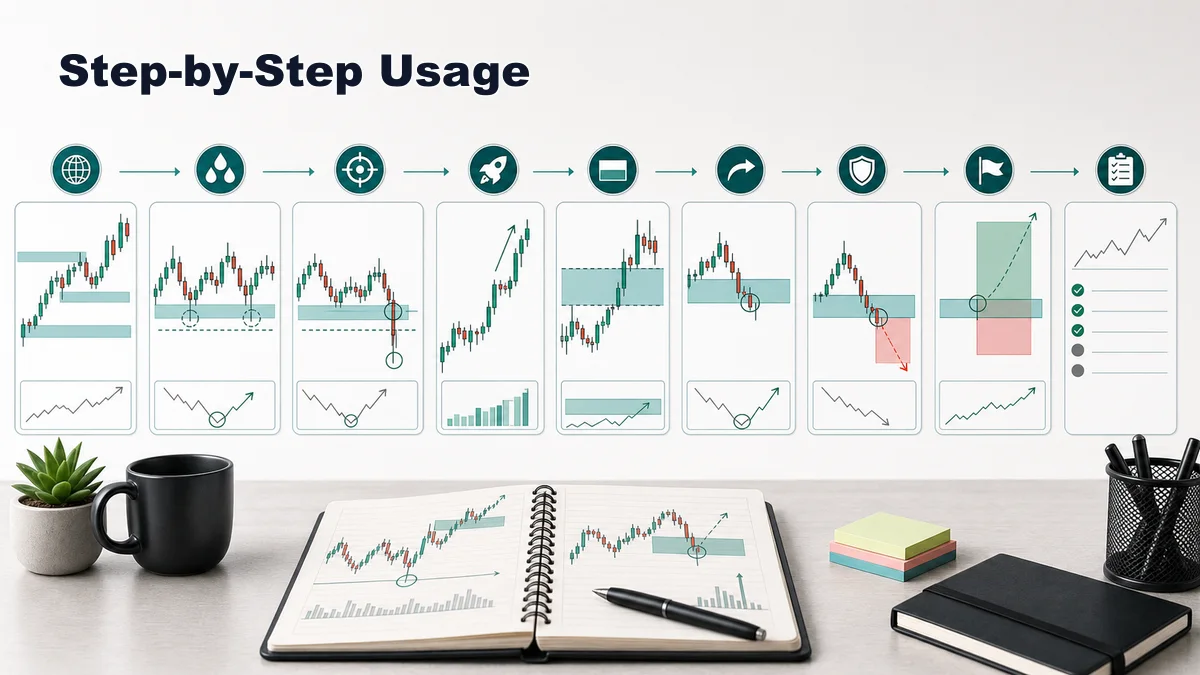
- Higher-timeframe context: identify trend or range and the relevant dealing range.
- Location: mark swings, liquidity and support/resistance before looking for a gap.
- Displacement: check spread, structural break and follow-through.
- FVG definition: draw the three-candle boundaries and record width and test status.
- Confirmation: wait for a defined rejection, structure shift, retest or acceptance behaviour.
- Risk: write invalidation, costs and position size before considering execution.
If context, location and confirmation conflict, do not force a trade. A clean “insufficient evidence” note is more useful than a collection of untested zones.
Is an FVG an Entry Zone?
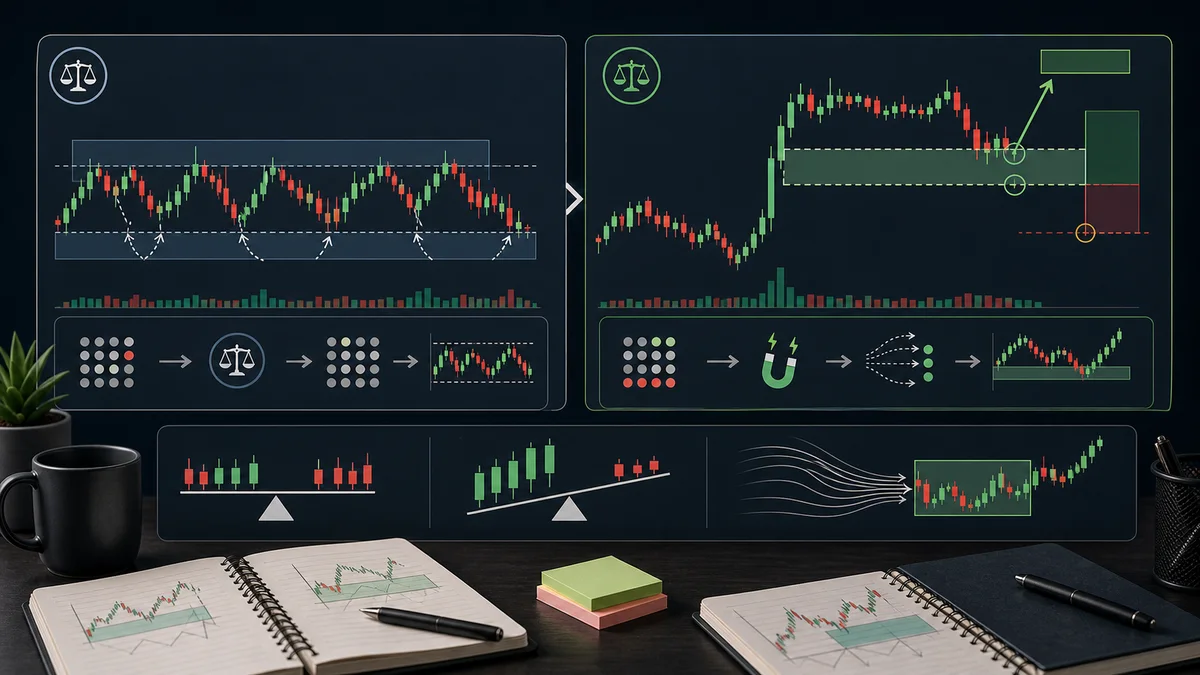
An FVG is not automatically an entry zone. A limit order placed in the gap can be crossed without a reaction, filled during poor liquidity or invalidated by a news event. A confirmation approach may wait for a close, rejection or structure shift; a limit approach accepts more uncertainty in exchange for a different price. Neither approach has a guaranteed win rate.
Document four layers: context (why the area matters), trigger (what must happen), invalidation (when the hypothesis is wrong) and risk (the maximum amount at stake). Avoid language such as “the FVG will hold” or “safe entry.” The site’s risk–reward guide covers the separate risk layer.
A Labelled Failed Example
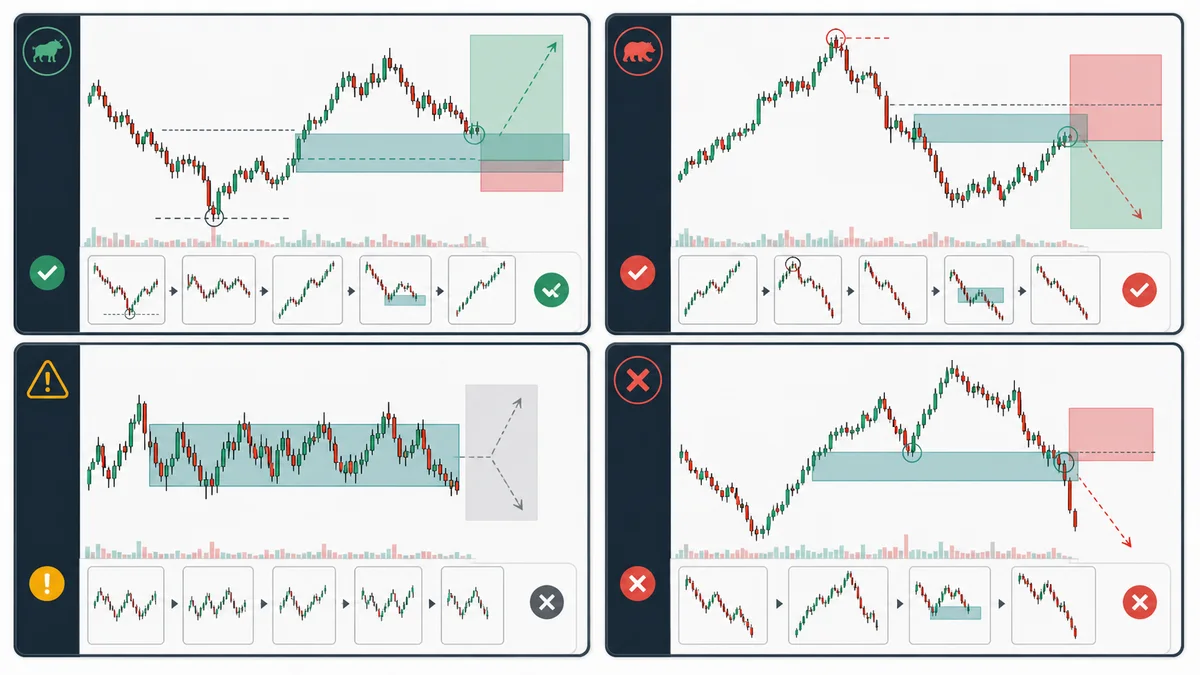
Label: this is a teaching illustration, not a historical trade record or backtest. Suppose a hypothetical EUR/USD H4 displacement travels from 1.0850 to 1.0920 and leaves a bullish FVG at 1.0870–1.0885. Price retraces to 1.0880, but the candle closes at 1.0862 and the next two bars accept below 1.0870.
Observation: the zone was retested and then crossed with acceptance. Hypothesis failure: “the gap will hold as support” is invalidated. Do not widen the zone, move a stop or call the event a stop hunt without independent structural evidence. Lesson: the initial displacement does not guarantee a successful retracement reaction.
For real research, replace the illustrative numbers with symbol, timestamp, feed, date range and a verifiable data source. Do not turn the example into a win-rate, PnL or target claim.
Timeframes, Sessions and FVG Age
An H4 FVG can contain several M15 imbalances. Use the higher timeframe for structure and location, then a lower timeframe only to describe a trigger. Do not use an M1 gap to overturn an H4 hypothesis without explaining the degree change.
Age, number of tests and session liquidity also matter. A gap created during a liquid session may be processed quickly; a gap during a quiet period can be crossed by spread or a session transition. Record timezone and session in the journal, especially for Forex. “Fresh” should mean a countable number of prior tests, not a quality guarantee.
Failure Cases and Overfitting Controls
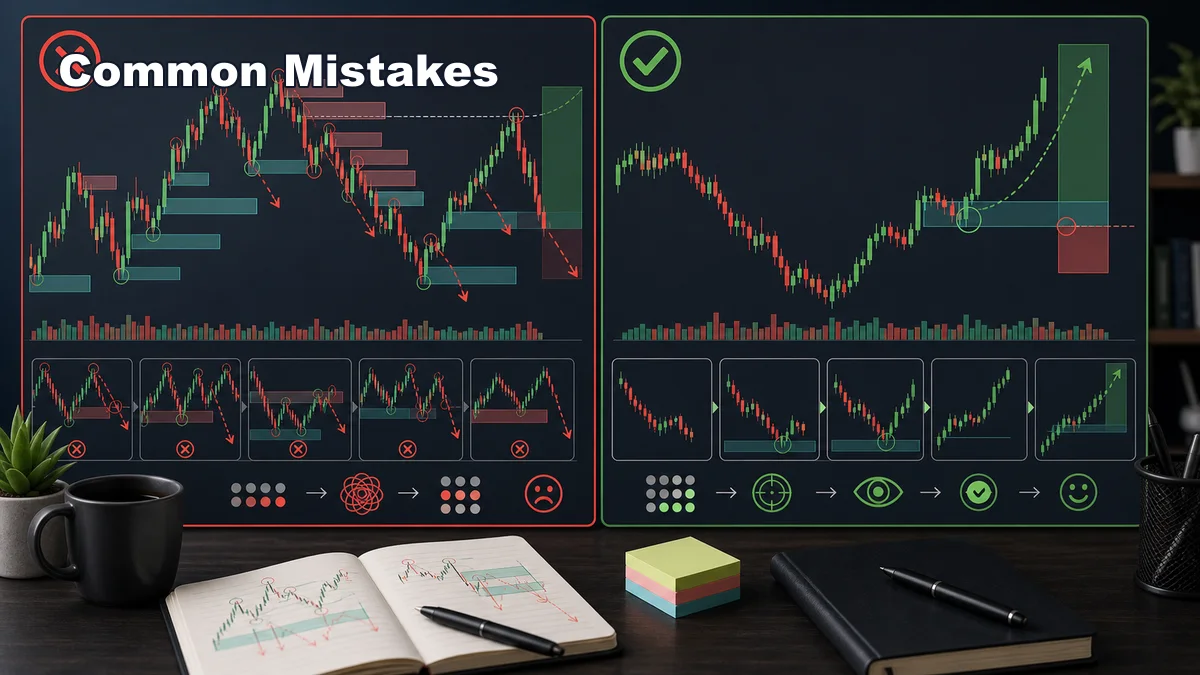
- Marking every gap: keep only areas with a structural reason and document exclusions.
- Chasing the middle candle: a wide candle is not follow-through; wait for the defined retest behaviour.
- Confusing a wick with acceptance: separate a deep test from a close-through and sustained acceptance.
- Changing the fill rule: lock partial, midpoint and full-fill definitions before reviewing results.
- Missing data notes: add symbol, timeframe, feed, session and date range to every chart.
Keep failed examples beside successful-looking ones. If a rule appears correct only after the outcome is known, it needs a better test design, not a stronger marketing claim.
FVG in the SMC/ICT Ecosystem
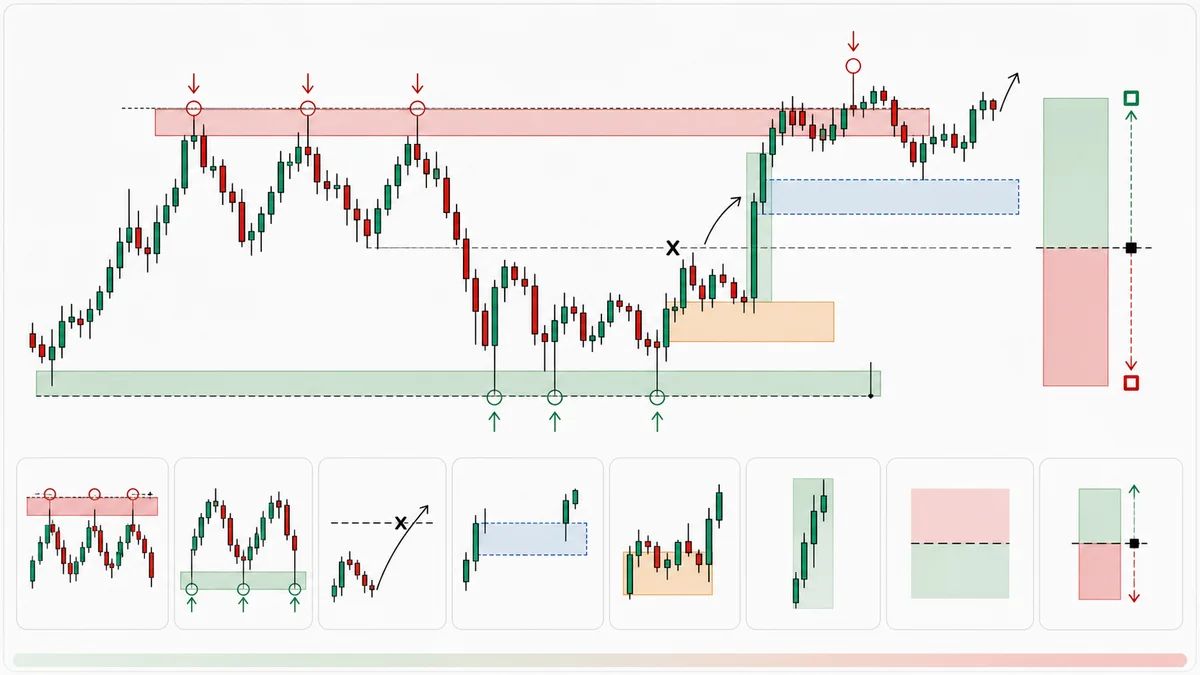
SMC/ICT discussions often connect FVG with liquidity, BOS/CHoCH, order blocks and premium/discount. That relationship provides a way to organise observations, but it does not make every combination a guaranteed trigger. Read the ICT concepts guide and the liquidity guide for separate intents.
Scheduled pages about IFVG/BPR and liquidity void comparisons should link back to this foundational page only after they are public and validated. Do not place scheduled URLs in a live pillar or use a gap to stand in for a complete market-structure analysis.
Learning Route and Related Guides

- Start with the SMC framework and market structure.
- Study liquidity and displacement before drawing a gap.
- Apply the three-candle definition and a fixed fill/invalidation rule.
- Compare order blocks, mitigation and premium/discount by their own intent.
- Practise with dated charts and failed examples.
- Finish with position sizing, execution costs and a trading journal.
Future IFVG/BPR and liquidity-void comparison pages can join this route after publication. Until then, the foundational guide remains the correct live destination.
Key Takeaways, References and Risk Notice
- An FVG uses the high/low relationship of three consecutive candles.
- Displacement and location add context but do not guarantee a fill or reaction.
- Partial, midpoint and full fills should be defined before testing.
- Close-through and sustained acceptance can invalidate the original zone hypothesis.
- Liquidity voids and order blocks are related but distinct concepts.
- Every example should state symbol, timeframe, date range and whether it is historical or illustrative.
For risk context, read the CFTC Customer Advisory on Forex. SMC/ICT terminology is used here for education and is not a universal trading standard.
Risk notice: This article is educational information, not investment advice or a solicitation to trade. FVGs can fail, and trading can result in losses, especially with leverage. Verify data, account for spread and slippage, and risk only capital you can afford to lose.
Selected supporting guides: When a gap appears inside a broader point of interest, compare the validation steps with the Order Block Trading guide and use the Liquidity Sweep guide to test stop-run context.