

WHAT YOU RECEIVE

A structured learning path from market basics to risk-aware practice.

#1

Solid Trading Foundation:

Master market dynamics, order types, and risk management.

kien thuc trading
Explore Now

#2

In-Depth Trading Guides:

Access practical, in-depth trading guides organized by topic and skill level.

hinh hoc trading
Explore Now

#3

Risk Management & Strategy:

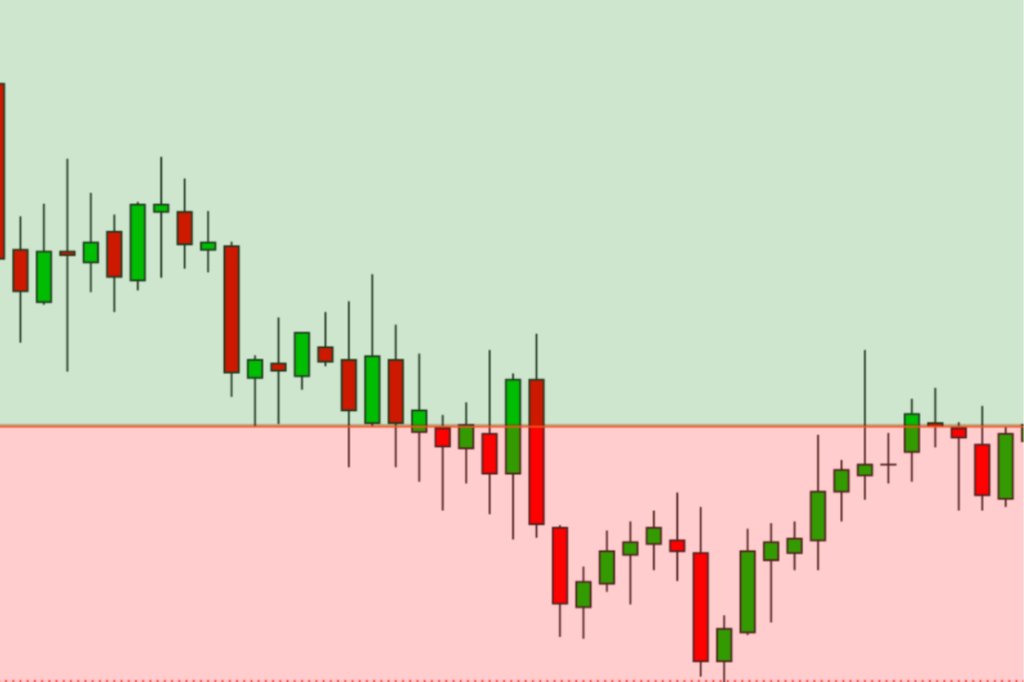
Build a practical process for entries, stop loss, take profit, and position sizing.
tool trading
Explore Now
Vector Image

#4

Market Structure Guides:

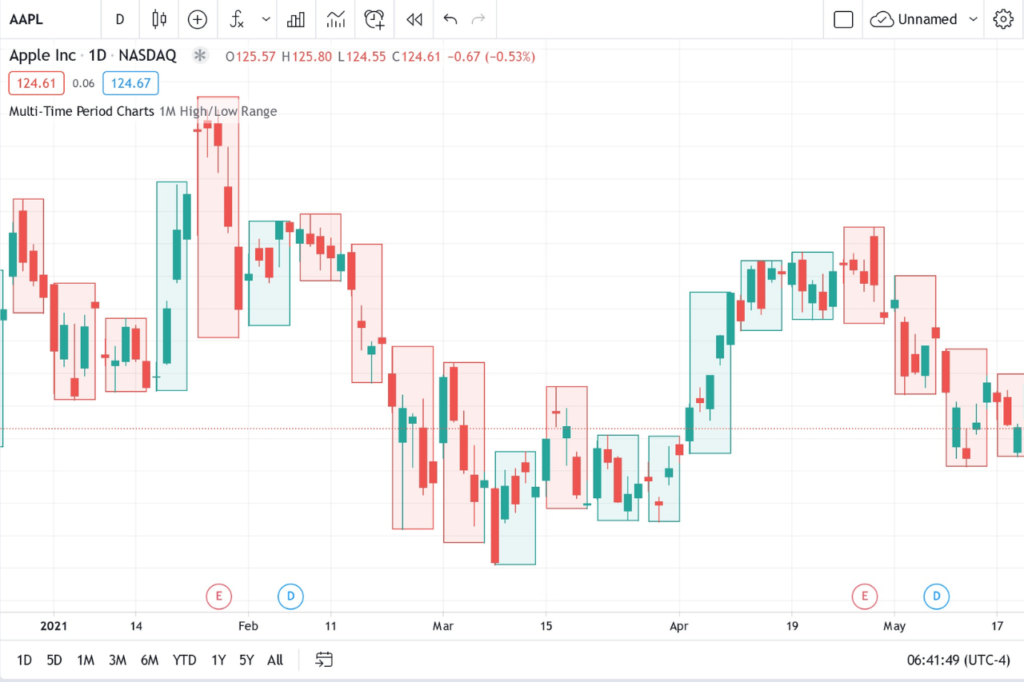
Learn to read trends, ranges, swing highs, and swing lows with a clean framework.
bieu do trading
Explore Now

#5

About the Author:

Learn how Hoclamtrader’s educational guides are researched, written, and reviewed.

hoi dap trading
Explore Now

KNOWLEDGE FOR NEW TRADERS

Avoid Market Traps & Prevent Account Blowouts from Day One.

Trading Foundations

SNR Level Invalidation: When a Zone Is No Longer Valid

Learn snr level invalidation with a clear, risk-first guide: define rules for deleting levels, avoiding...

ICT Optimal Trade Entry Explained

ICT Optimal Trade Entry explained for beginners: what OTE means, how to identify it, why...

Bearish Candlestick Patterns Every Trader Should Know

A practical guide to bearish candlestick patterns every trader should know: definitions, identification, psychology, usage...

Wyckoff Distribution Explained

Wyckoff distribution explained in a practical way: what it is, how to identify it, why...

Gann Box Trading Guide

A practical Gann Box trading guide for beginners: what the Gann Box is, how to...

Breakout or Fakeout? How MSNR Traders Validate a Level Break

Learn msnr breakout fakeout with a clear, risk-first guide to validating support and resistance breaks,...

MSNR & Risk-First Practice

SNR Level Invalidation: When a Zone Is No Longer Valid

Learn snr level invalidation with a clear, risk-first guide: define rules for deleting levels, avoiding...

Breakout or Fakeout? How MSNR Traders Validate a Level Break

Learn msnr breakout fakeout with a clear, risk-first guide to validating support and resistance breaks,...

The Best Timeframes for Drawing MSNR Levels

Learn best timeframe for msnr levels with a clear, risk-first guide to higher-timeframe mapping, lower-timeframe...

MSNR Engulfing Strategy: Rules, Filters and Failure

Learn how an engulfing candle can act as an MSNR reaction trigger, with zone context,...

Support Becomes Resistance: MSNR Role Reversal

Learn how a broken MSNR support zone may become resistance, with acceptance, retest, confirmation, invalidation...

Line vs Candlestick Charts for MSNR Levels

Compare line and candlestick charts for MSNR zones, including close-based clarity, OHLC detail, workflow roles...