


Msnr
Malaysian Support and Resistance guides covering zone selection, close-open levels, storyline, rejection and risk-first chart practice.
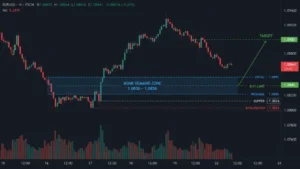
MSNR Limit Entry: Conditions, Buffer and Risk
A practical MSNR limit-entry guide covering zone width, spread-aware buffers, stop placement, invalidation and the...
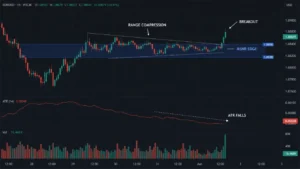
Compression Before an MSNR Breakout: When Is It More Reliable?
Learn how to assess compression before an MSNR breakout using range contraction, volume context, closing...
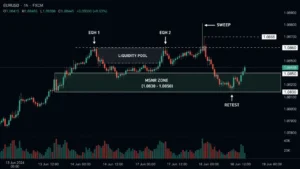
EQH and EQL in MSNR: Reading Liquidity Above and Below a Zone
EQH and EQL around an MSNR zone can act as liquidity pools for a sweep-and-retest...
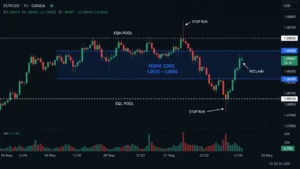
Liquidity Sweeps Around MSNR Zones: Confirmation and Failure
Learn how to read liquidity sweeps around MSNR zones: map EQH/EQL, separate a stop run...
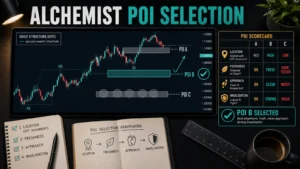
Alchemist POI Selection: Location, Freshness and Risk
A four-filter process for comparing points of interest by location, freshness, approach and invalidation.
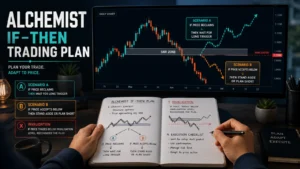
Alchemist If–Then Trading Plan: Build Two Scenarios
How to replace one-sided chart predictions with two conditional scenarios and a written no-trade rule.

Alchemist Trading Framework: Storyline, POI and Trigger
A practical, non-predictive framework for turning market structure into a conditional plan: storyline, POI, trigger...

Common Support and Resistance Drawing Mistakes in MSNR
Learn support resistance drawing mistakes with a clear, risk-first MSNR guide. Includes examples, checklist, invalidation,...

MSNR Candlestick Confirmation: Rejection and Close Rules
Learn msnr candlestick confirmation with a clear, risk-first guide to rejection candles, engulfing patterns, close-based...

MSNR Rejection Candle: How to Read a Real Bounce From a Fake One
Learn msnr rejection candle with a clear, risk-first guide to reading real bounces, fake rejections,...

SNR Zones and Volume: Should Volume Confirm MSNR?
Learn volume support resistance msnr with a clear, risk-first guide: use volume as optional context...
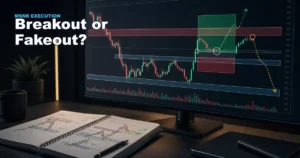
Breakout or Fakeout? How MSNR Traders Validate a Level Break
Learn msnr breakout fakeout with a clear, risk-first guide to validating support and resistance breaks,...

The Best Timeframes for Drawing MSNR Levels
Learn best timeframe for msnr levels with a clear, risk-first guide to higher-timeframe mapping, lower-timeframe...
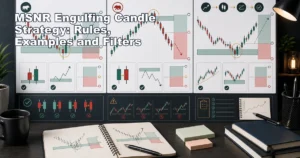
MSNR Engulfing Strategy: Rules, Filters and Failure
Learn how an engulfing candle can act as an MSNR reaction trigger, with zone context,...
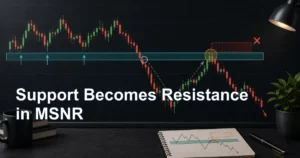
Support Becomes Resistance: MSNR Role Reversal
Learn how a broken MSNR support zone may become resistance, with acceptance, retest, confirmation, invalidation...
- 1
- 2